

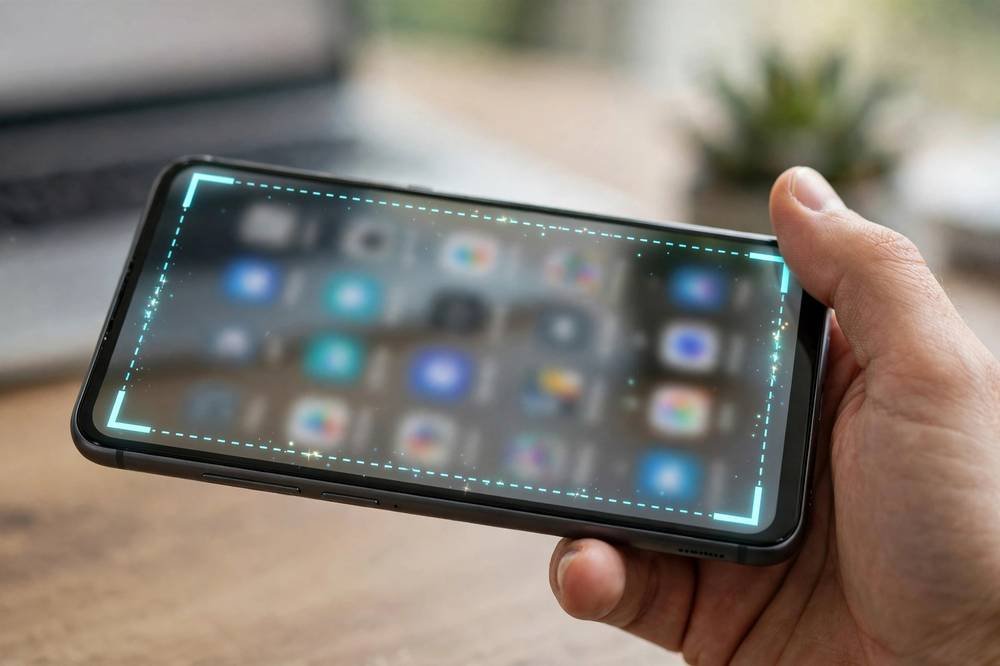
Taking a screenshot on Android sounds simple — until you switch phones and nothing works the way it used to. Samsung, Xiaomi, Infinix and Tecno each add their own methods on top of the standard ones, and most users only ever learn one. This guide covers every method worth knowing for the brands most common in Pakistan — including the lesser-known tricks most people never discover: partial screenshots, extracting text from screenshots, and pinning a capture on screen while you work.
Method 1: The Standard Button Combo (Works on Every Android)
No matter which brand you own, this method works. It is built into Android itself, so it never disappears with updates.
Steps
- Open the screen you want to capture.
- Press and hold the Power button and the Volume Down button at the same time.
- Hold them for about one second, then release.
- You will see a flash animation and hear a shutter sound — the screenshot is taken.
The trick is timing: press both buttons together, not one after the other. If you press Power first, you will lock the screen; Volume Down first, you will just change the volume. On some newer phones, holding Power alone opens the power menu or voice assistant — but pressing both together still takes the screenshot.
Method 2: Samsung Phones (Palm Swipe, Edge Panel, S Pen)
Samsung’s One UI offers the most screenshot options of any Android brand. Here are the four you should know.
Palm swipe to capture
This is Samsung’s signature gesture and a favorite among users who find the button combo awkward.
- First, make sure it is turned on: go to Settings → Advanced features → Motions and gestures and enable “Palm swipe to capture”.
- Open the screen you want to capture.
- Place the side of your hand (the pinky edge) on one side of the screen.
- Swipe it horizontally across the screen to the other side, keeping contact the whole way.
The screen flashes and the screenshot is saved. If it does not work, the most common mistake is lifting your hand mid-swipe — keep the edge of your palm flat against the glass from start to finish.
Edge panel screenshot
- Enable Edge panels: Settings → Display → Edge panels → turn on.
- Open the panel by swiping in from the curved edge handle.
- Swipe through the panels until you find Tasks, and tap “Take screenshot”.
S Pen (Galaxy S Ultra / Note models)
Remove the S Pen, tap Air Command, and choose “Screen write” — it captures the screen and immediately opens it for annotation, perfect for circling something and sending it. If your Power or Volume buttons are broken, enable the Assistant menu under Settings → Accessibility → Interaction for a floating screenshot button instead.
Method 3: Xiaomi / Redmi / POCO (Three-Finger Swipe, Quick Ball)
Xiaomi’s MIUI (now HyperOS) has its own set of shortcuts that are faster than the button combo once you learn them.
Three-finger swipe
- Make sure it is enabled: Settings → Additional settings → Gesture shortcuts → Take a screenshot → select “Slide 3 fingers down”.
- On any screen, place three fingers on the display and swipe downward.
- The screenshot is captured instantly.
This is the fastest screenshot method on any phone in this list — one quick gesture, no buttons. It is on by default on most Xiaomi phones, so try it before changing anything.
Quick Ball
A customizable floating shortcut: Settings → Additional settings → Quick Ball → turn on, then add “Screenshot” to its shortcuts. Tapping the ball and hitting the icon captures the screen from anywhere.
Notification shade button
Swipe down from the top of the screen to open Quick Settings, and look for the “Screenshot” tile. If it is not visible, tap the edit (pencil) icon and drag it into your active tiles. One tap captures the screen — no buttons, no gestures.
Method 4: Infinix and Tecno (XOS / HiOS)
Infinix and Tecno — two of the most popular budget brands in Pakistan — run XOS and HiOS, which include their own shortcuts alongside the universal button combo.
Three-finger screenshot
Open Settings and use the search bar at the top — type “screenshot” and the phone takes you straight to the gesture options (menu names vary between XOS and HiOS versions). Enable the three-finger swipe down gesture, then swipe three fingers down on any screen to capture it.
Notification shade shortcut
Both brands include a “Screenshot” tile in Quick Settings. Swipe down from the top and tap it; if it is missing, edit your tiles to add it.
The button combo always works
If gestures confuse you, remember Method 1: Power + Volume Down works on every Infinix and Tecno phone, no setup needed.
Method 5: Scrolling / Long Screenshots
Sometimes one screen is not enough — you want to capture an entire chat, a full article, or a long receipt. That is what scrolling screenshots are for.
How it works
- Take a normal screenshot using any method above.
- Immediately after capturing, a small toolbar appears at the bottom of the screen with a “Scroll” or “Capture more” button (the exact name depends on your brand).
- Tap it. The phone automatically scrolls down and stitches the screens together.
- Keep tapping (or let it auto-scroll) until you have captured everything you need, then tap Done or Save.
Brand-specific notes
- Samsung: tap the scroll capture button (two downward arrows) in the toolbar; keep tapping to extend.
- Xiaomi: tap “Scroll” in the preview toolbar; the phone auto-scrolls until you tap Stop.
- Infinix/Tecno: tap “Long screenshot” or “Scrollshot” in the toolbar.
- Stock Android (Pixel, Motorola, Nokia): tap “Capture more” in the preview.
Method 6: Take a Screenshot With Your Voice (Google Assistant / Gemini)
If your hands are busy, say “Hey Google, take a screenshot” with Google Assistant or Gemini active. The assistant captures the screen and shows sharing options — no hands needed. It even works in some apps where the button combo is blocked, because it captures at the system level.
Method 7: Quick Settings Tile (All Brands)
Almost every Android phone has a “Screenshot” tile in Quick Settings: swipe down from the top of the screen, tap the tile, and the screenshot is taken. If the tile is missing, tap the pencil/edit icon and drag it into your active tiles. It is the most discoverable method for beginners — worth keeping on your first Quick Settings page.
Where Screenshots Are Saved
Every screenshot lands in the Screenshots album in your Gallery or Google Photos app (file path: Internal Storage → DCIM or Pictures → Screenshots). Files are named with the date and time. They pile up fast — check the folder every few months and delete what you no longer need, or they will quietly eat gigabytes.
Lesser-Known Tricks Most People Never Discover
These are the features that separate casual users from power users. Each one solves a real, specific problem.
Partial screenshots: capture only what you need
Full-screen captures force you to crop afterwards. Skip that step:
- Samsung — Smart Select: open the Edge panel, swipe to Smart Select, and choose Rectangle or Oval. Drag to select exactly the area you want — only that region is captured. Smart Select can also record a portion of the screen as a GIF animation, which is perfect for showing someone how to do something step by step.
- Xiaomi: go to Settings → Additional settings → Gesture shortcuts → Partial screenshot and set the gesture (usually a three-finger long-press). Draw a box around what you need — the rest is never captured.
Extract text from any screenshot (OCR)
This is the single most underused screenshot trick. Instead of retyping a Wi-Fi password, tracking number or phone number from a screenshot:
- Samsung: after taking a screenshot, tap the “T” (extract text) button in the screenshot toolbar. The phone reads the text in the image and lets you copy it, call the number, or open the link directly.
- Any Android: open the screenshot in Google Lens (or Google Photos → Lens), tap Text, and select what you need. It also translates text in screenshots — point it at an Urdu or English notice and read it in the other language.
Practical uses: copying an account number from a bill photo, grabbing an address from a flyer, translating a screenshot a relative sent you.
Pin a screenshot on screen while you work
Need to copy a reference number from a screenshot into a form in another app — without switching back and forth? On Samsung, use Smart Select → Pin to screen: the capture floats on top as a small window while you open other apps. Read the number, type it, then dismiss the pin. No more memorizing six digits at a time.
Quick-share without opening the gallery
Right after capturing, a preview thumbnail appears in the corner — tap it, then the share icon, and send straight to WhatsApp, Status, or Gmail. Two time-savers here: crop first (status bar and empty edges make screenshots look messy and send slower), and when sending on WhatsApp tap the HD icon — or send as a Document — to avoid blurry compression on text-heavy screenshots.
Why Some Apps Block Screenshots (Banking Apps)
Try screenshotting your banking app, Easypaisa, JazzCash, or Netflix, and you will get a black image or an error. This is deliberate: Android lets developers set a security flag called FLAG_SECURE, which blocks screenshots, screen recordings and screen sharing for that screen. Banking apps use it so malware cannot secretly photograph your balance, PIN entry or transaction details.
What to do instead:
- Do not try to bypass it. Third-party apps claiming to “force” screenshots on banking apps need deep system access and are a major security risk.
- Use the app’s own features. Most banking apps let you download a transaction receipt or statement as a PDF — safer and more official than a screenshot.
- For Netflix, the block is about copyright. There is no legitimate workaround on the phone.
- The voice-assistant method sometimes works on non-financial apps that block captures unnecessarily — but respect the block on financial apps.
Troubleshooting: When Screenshots Do Not Work
The button combo does nothing
You are probably pressing the buttons sequentially instead of together. Press Power and Volume Down at exactly the same time and hold for a full second. On phones with a case, make sure the buttons are actually being pressed — thick cases are a common culprit.
It takes a screenshot of the wrong moment
The volume overlay or power menu appears because you held too long or pressed unevenly. A quick, simultaneous press-and-release is all you need.
Gesture methods stopped working after an update
Major updates sometimes reset gesture settings. Re-enable palm swipe, three-finger swipe or Quick Ball in Settings — they are usually just switched off, not removed.
“Couldn’t capture screenshot” error
Either the app has FLAG_SECURE enabled (see above), or your storage is completely full. Free up space and try again — a phone with zero free storage cannot save new screenshots.
Frequently Asked Questions
What is the universal screenshot method for Android?
Press Power + Volume Down together for one second. It works on every Android phone regardless of brand.
How do I take a screenshot on Samsung without buttons?
Use palm swipe: enable it under Settings → Advanced features → Motions and gestures → Palm swipe to capture, then swipe the edge of your hand across the screen.
How do I take a screenshot on Xiaomi?
Swipe three fingers down on the screen. If it does not work, enable it under Settings → Additional settings → Gesture shortcuts → Take a screenshot.
How do I take a scrolling screenshot?
Take a normal screenshot, then tap Scroll, Capture more, or Long screenshot in the toolbar that appears immediately after.
Where do screenshots go on Android?
To the Screenshots album in your Gallery or Google Photos app, stored under Internal Storage → DCIM or Pictures → Screenshots.
The Bottom Line
On any Android phone, Power + Volume Down never fails. Beyond that, learn your brand’s shortcut — palm swipe on Samsung, three-finger swipe on Xiaomi, Infinix and Tecno — and try the tricks most people miss: partial screenshots with Smart Select, extracting text from captures instead of retyping it, and pinning a screenshot on screen while you fill a form. Banking apps block captures for your protection — use their receipt downloads instead.