

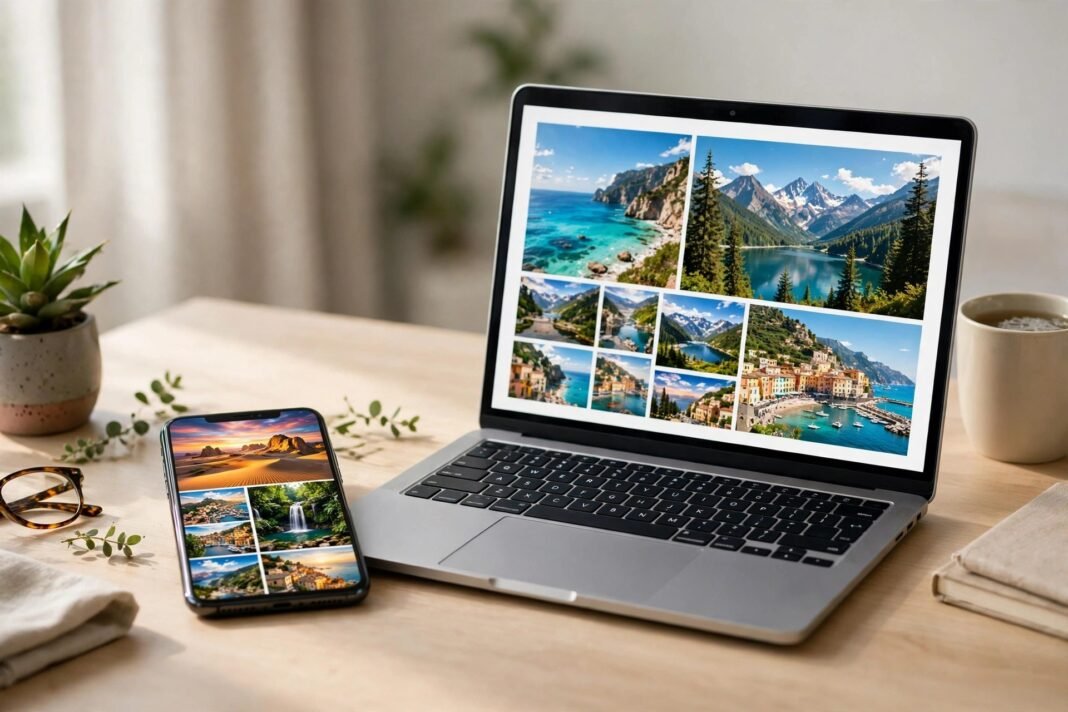
Your phone is full of photos and your laptop has the space. So how do you move them without hunting for a cable? The good news is that you have several wireless options, and one of them will fit your exact pair of devices. This guide shows you how to transfer photos from phone to laptop without a cable, with exact steps for iPhone, Android, Mac, and Windows. Pick the method that matches your devices, and your photos will be on the big screen in minutes.
Transfer Photos From Phone to Laptop: Pick Your Route
The fastest method depends on your devices. If you have an iPhone and a Mac, AirDrop is the quickest route. For an Android phone and a Windows laptop, Quick Share is the one to use. When your phone and laptop come from different makers, the cloud is your friend. And if you only need a few photos, emailing them to yourself still works fine. So scroll to the one that matches your devices and follow the steps.
AirDrop: iPhone to Mac in Seconds
AirDrop is Apple’s built-in sharing feature, and it needs no cable and no upload. It uses Bluetooth to find the other device and Wi-Fi to move the data. Both devices need Wi-Fi and Bluetooth turned on, and they need to be within about 10 metres (30 feet) of each other. Also turn off Personal Hotspot before you start, because it can block AirDrop.
Firstly, get the Mac ready to receive. Click Control Center in the menu bar, click AirDrop, and choose Contacts Only or Everyone. Secondly, open Photos on your iPhone, tap Select, and tap the photos you want. Thirdly, tap the Share button, tap AirDrop, and tap your Mac when it appears. If both devices use the same Apple Account, the transfer is accepted automatically. If not, click Accept on the Mac. Your photos will land in the Mac’s Downloads folder.
AirDrop only works between Apple devices. So it will never show an Android phone, no matter what you change in Settings. If you have an Android phone and a Mac, skip to the section on that tricky pair below.
Quick Share: Android to Windows Without a Cable
Quick Share is Google’s version of AirDrop, and it works between Android phones and Windows PCs. It is built into every Android phone running Android 6.0 and later, so you need nothing extra on the phone. On the PC, you need to install the free Quick Share app from Google. It works on 64-bit Windows 10 and Windows 11.
Firstly, install Quick Share on your Windows PC and sign in with your Google Account. In the app’s Settings, set Device visibility to Your devices or Everyone so your phone can find the PC. Secondly, turn on Bluetooth and Wi-Fi on both devices, and keep them within about 5 metres of each other. Thirdly, open the photo on your phone, or select several in your gallery app, then tap Share and tap Quick Share. Tap your PC’s name. If both devices use the same Google Account, the PC accepts the transfer automatically. Your photos will arrive in the Downloads folder, inside a Quick Share folder.
Quick Share also works in the other direction. On the PC, open the Quick Share app, drag in the files, pick your phone, and accept the transfer on the phone. So you can move photos back to your phone just as easily.
Google Photos: Transfer Photos From Phone to Laptop Over the Cloud
Google Photos works with any phone and any laptop, and that makes it the most flexible option. It is already installed on nearly every Android phone. On iPhone, you can install it free from the App Store. Your photos upload to your Google Account, and you can then download them on any laptop with a browser.
Firstly, open Google Photos on your phone and make sure backup is turned on. Wait for the photos you want to finish uploading. Secondly, open photos.google.com on your laptop and sign in with the same Google Account. Thirdly, select the photos you want, then download them from the menu. If you select several photos, they arrive as a single ZIP file, so unzip it after the download finishes.
Google gives you 15 GB of free storage, shared between Google Photos, Gmail, and Google Drive. That is enough for thousands of photos, but videos fill it up fast. So if your library is large, check your storage before you start. The cloud also doubles as a backup, which is a bonus. If you have never set up a backup, read our guide on how to back up your phone automatically before you move anything important.
iCloud: iPhone to Windows the Easy Way
iPhone to Windows is the trickiest common pair, because AirDrop does not work on Windows. Apple offers two ways around it. The first is iCloud.com, which is best for a small batch. The second is iCloud for Windows, which is best if you want your whole library on the PC.
For a small batch, open iCloud.com in your browser and sign in with your Apple Account. Click Photos, select the photos you want, and click the Download button. If you select several photos, they arrive as a ZIP file. For the whole library, install iCloud for Windows free from the Microsoft Store. Sign in with your Apple Account, turn on Photos, and open File Explorer. You will find iCloud Photos in the left pane, and your photos will download from there.
One warning: iCloud Photos is syncing, not a backup. If you delete a photo from the synced library, it may disappear from your other devices too. So copy the photos to a separate folder on your PC if you want to keep them safe. Also note that iPhones often save photos as HEIC files. If Windows cannot open them, install the free HEIF Image Extensions from the Microsoft Store.
Phone Link: Android Photos on a Windows PC
Phone Link is Microsoft’s app for connecting an Android phone to a Windows PC. It is already installed on Windows 11 and recent versions of Windows 10. Once your phone is linked, you can view and save your recent photos on the PC without a cable. Phone Link shows your 2,000 most recent photos and screenshots.
Firstly, open Phone Link on your PC from the Start menu and select Android. Sign in with your Microsoft account. Secondly, install or open the Link to Windows app on your phone and sign in with the same Microsoft account. Thirdly, scan the QR code shown on your PC with your phone to pair the two devices. Once they are linked, click the Photos tab in Phone Link to see your recent pictures. Right-click any photo and choose Save as to copy it to your PC.
Microsoft is also moving phone photos into File Explorer. If you do not see a Photos tab in Phone Link, open Settings on your PC, then Bluetooth & devices, then Mobile devices, then Manage mobile devices, and turn on “Show mobile device in File Explorer”. Your phone will then appear in File Explorer like a drive. Be careful, though: files shown this way are online-only, so deleting one in File Explorer removes it from your phone too. Always copy first, then delete.
Android to Mac: The Tricky Pair, Solved
Android to Mac is the hardest combination of all. AirDrop is Apple-only, and there is no official Quick Share app for Mac. Google also stopped offering its Android File Transfer app in 2024, so the old cable method needs a different tool. However, you still have good wireless options.
The simplest route is Google Photos. Upload your photos from the phone, then download them on the Mac from photos.google.com. It works over any distance, and it doubles as a backup. If you have a newer Pixel or Galaxy phone, there is a faster way. On these phones, Quick Share can send directly to a Mac through AirDrop. Set the Mac’s AirDrop to Everyone for 10 minutes first, then share from the phone as normal.
A third option is a free Wi-Fi transfer app such as LocalSend. Install it on both devices, put them on the same Wi-Fi network, and send the photos directly. Nothing goes through the internet, so it is fast and private. If you ever lose photos during a transfer, do not panic. Read our guide on how to recover deleted photos on iPhone and Android before you try anything else.
Transfer Photos From Phone to Laptop for Just a Few Pictures
Sometimes you only need one or two photos, and setting up an app feels like too much work. In that case, email them to yourself. Open your email app on the phone, attach the photos, and send the message to your own address. Then open the email on your laptop and download the attachments. Most email services limit attachments to about 25 MB per message, so this works for a few photos but not for a whole album.
You can also send the photos to yourself in a messaging app, such as WhatsApp or Telegram. However, some messaging apps compress photos and lower their quality. So check your app’s settings for a “send as file” or “original quality” option if you want the full-size photo. For anything important, use one of the methods above instead.
When the Transfer Fails: Quick Fixes
If your laptop does not appear on your phone, work through these checks. Firstly, make sure Bluetooth and Wi-Fi are on at both ends. Secondly, move the devices closer together, because wireless sharing needs them nearby. Thirdly, turn off Personal Hotspot on the phone, because it can block sharing. Fourthly, check the receiving setting on the laptop: AirDrop should be set to Contacts Only or Everyone, and Quick Share visibility should be set to Your devices or Everyone.
If the transfer starts but stops halfway, the file may be too large for the method you chose. Videos in particular can be huge. In that case, try the cloud method instead, or move the videos in smaller batches. If your phone and laptop use different accounts, make sure you accept the transfer on the receiving device. Same-account transfers are usually automatic, but different-account transfers always need a tap on Accept.
Transfer Photos From Phone to Laptop: Which Method Wins?
There is no single best method, because it depends on your devices. AirDrop wins for iPhone to Mac. Quick Share wins for Android to Windows. Google Photos wins when your phone and laptop come from different makers. And email wins when you only need one photo in a hurry. So pick the method that fits your pair, and the transfer will take minutes, not hours.
Which method do you use to move your photos? If you have never tried wireless transfer, give it a go today. Once you see how fast it is, you may never hunt for a cable again.