


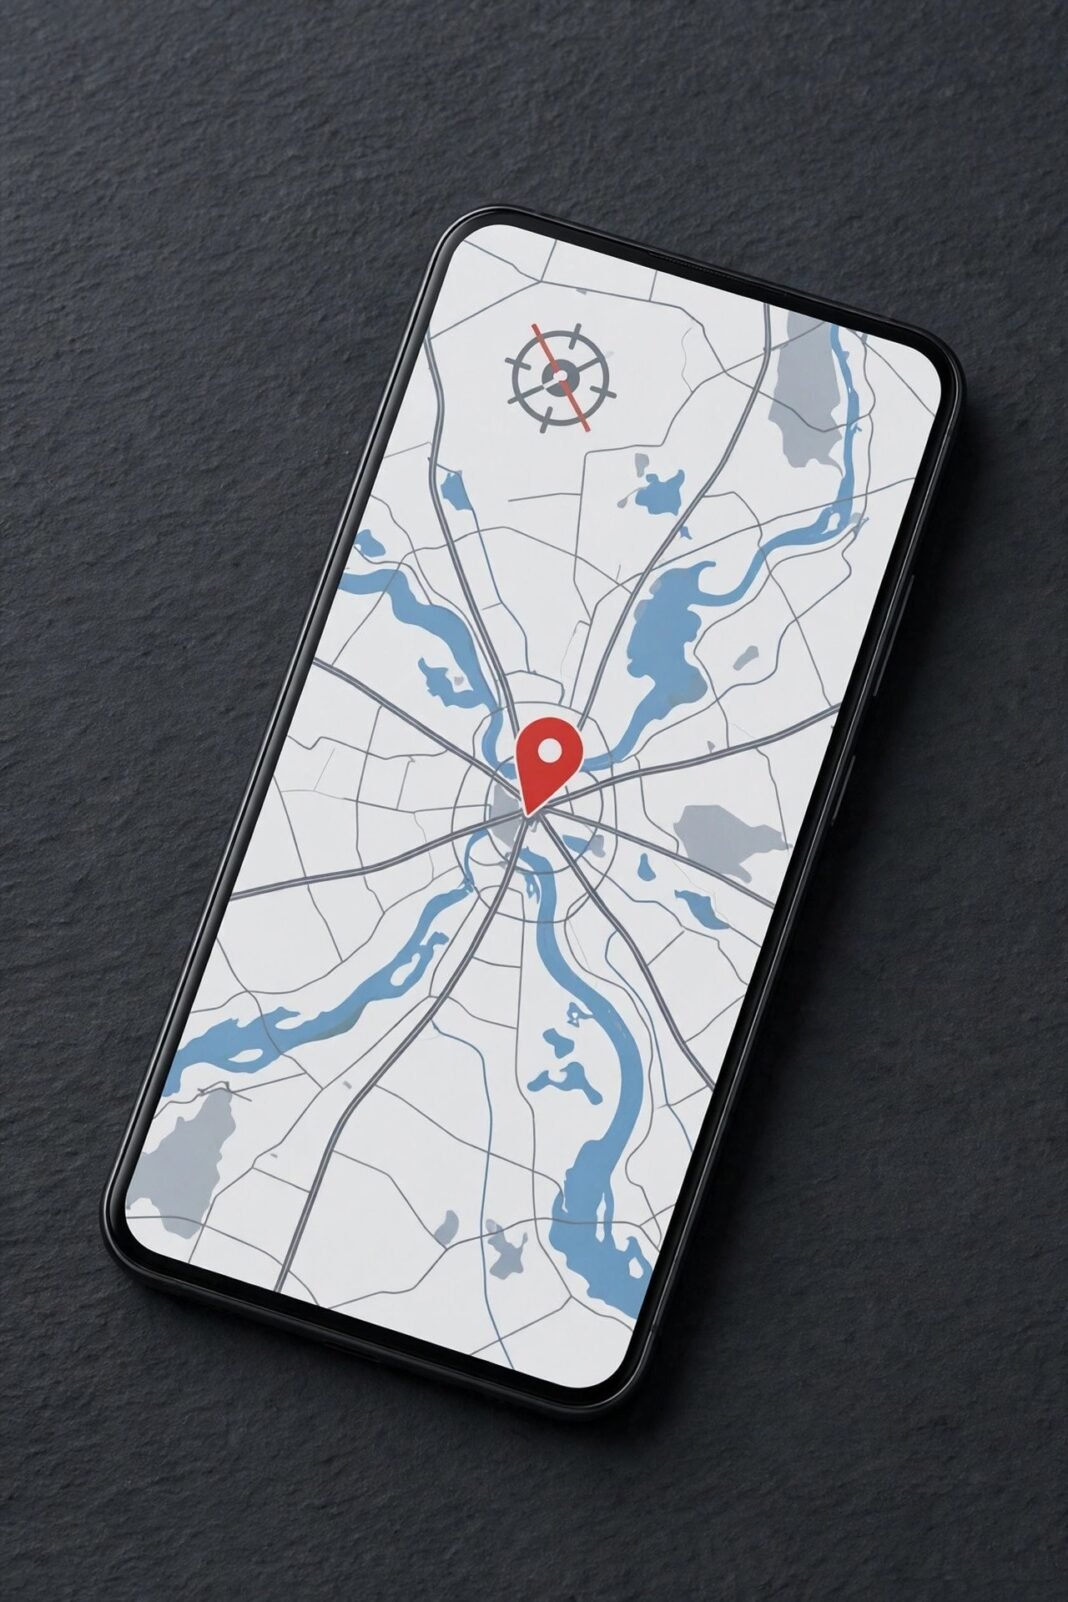
Your phone knows where you live, where you work, and where you went last Tuesday. It tracks your location all day, often without you noticing. Maps, weather, photos, and even shopping apps ask where you are, and many keep asking in the background. The good news is that you can turn off location tracking in a few taps, and take control back.
This guide shows you how to turn off location tracking on iPhone and Android. You can switch it off for the whole phone, or for one app at a time. It also shows you how to clear the location history your phone has already saved. You do not need any extra app, and every step is built into your phone.
Why Your Phone Tracks Where You Go
Your phone tracks location for good reasons and for less good ones. Maps needs it to guide you, weather apps need it for your local forecast, and ride-hailing apps need it to find your pickup point. Your camera uses it too, because it tags photos with the place they were taken. So some tracking makes your phone more useful.
However, many apps ask for location when they do not need it. A flashlight app has no reason to know where you are, and a shopping app can work without following you all day. Some apps collect location to show local ads, and some share it with data brokers. That is why it pays to check which apps can see where you are.
Your phone finds you in several ways at once: GPS satellites, nearby Wi-Fi networks, Bluetooth signals, and mobile phone masts. Together, they give your phone a very good idea of where you are. So turning off one signal alone does not stop tracking.
Turn Off Location Tracking on iPhone Completely
The fastest way to stop all tracking on iPhone is the master switch. Open Settings, then tap Privacy & Security, then tap Location Services. Turn off Location Services at the top of the screen. Your iPhone will ask you to confirm, because some apps need location to work.
Once it is off, no app can read your location. Find My will also stop sharing your phone’s location, so think twice before you switch it off for good. For most people, the per-app controls below are a better choice than the master switch.
You can turn it back on just as easily from the same screen. Nothing is lost, and your apps will ask for permission again if they need it.
Turn Off Location Tracking for One App on iPhone
A smarter move is to limit apps one by one. Open Settings, then tap Privacy & Security, then tap Location Services. You will see a list of apps with their current setting next to each name. Tap any app to change what it can do.
You will see four choices. Never blocks the app completely. Ask Next Time Or When I Share means the app must ask you each time. While Using the App lets it see your location only while it is open on screen. Always lets it track you in the background, so use it only for apps that truly need it.
For most apps, While Using the App is the right choice. Maps, ride-hailing, and delivery apps work fine with it, because you open them when you need them. A game or a shopping app does not need Always, so change it at once if you see it. Also check the Precise Location switch on the same screen.
Turn Off Location Tracking on Android Completely
Android has the same master switch. Open Settings, then tap Location. Turn off Use location at the top of the screen. Your phone will warn you that apps and services will lose access to your location, and you can confirm to go ahead.
Once it is off, no app can read your location. So this is a strong step, and it suits people who rarely use location features. If you use maps every day, the per-app controls below are a better fit.
As on iPhone, the switch is easy to undo from the same screen. Your apps will work as before, and you can then limit them one by one.
Turn Off Location Tracking for One Android App
To limit one app on Android, open Settings, then tap Location, then tap App location permissions. You will see your apps grouped by what they can do now. Tap any app to change its setting.
You will see up to four choices. Allow all the time lets the app track you even when closed, so give this to almost no app. Allow only while using the app is the best choice for most apps, because location stops when you close the app. Ask every time makes the app ask you on each visit. Don’t allow blocks the app completely.
Start with the apps listed under Allowed all the time, because those are the ones tracking you in the background. A fitness app or a family safety app may need it, but a game or a news app does not. Also look for the Use precise location switch on the same screen. Turning it off gives the app only your general area.
Clear the Places Your iPhone Remembers
Your iPhone keeps a list of the places you visit most, such as home and work. Apple calls this Significant Locations, and newer iPhones call it Significant Locations & Routes. Maps uses it for helpful features, such as telling you when to leave for an appointment. The data is end-to-end encrypted, and Apple says it cannot read it.
Even so, you may want to clear it. Open Settings, then tap Privacy & Security, then tap Location Services. Scroll to the bottom and tap System Services, then tap Significant Locations. You may need Face ID, Touch ID, or your passcode to open the list. Scroll down and tap Clear History to wipe it.
One warning: clearing removes the history from every device on the same Apple Account, and there is no undo. Clearing also does not stop new entries, because your iPhone will start learning your places again. To stop that, turn off the Significant Locations switch on the same screen.
Delete Your Google Timeline and Location History
Google keeps its own record, called Timeline, and it works a little differently. Timeline saves the places you visit and the routes you take, and it is switched off by default. If you turned it on, your history is saved on each device, with an optional encrypted backup.
To delete it, open the Google Maps app and tap your profile photo, then tap Your Timeline. Tap the three-dot menu and open Settings and privacy. There you can delete all location history, or delete one period at a time. You can also set auto-delete, so Timeline clears itself after 3, 18, or 36 months.
To switch Timeline off for your whole account, open your Google Account in a browser. Go to Data & privacy, then History settings, then Timeline, and turn it off. Turning it off does not delete what is already saved, so delete the history first. One honest note: even with Timeline off, Google may still save rough location from other activity, such as your general area from searches.
What Stops Working When Location Is Off
Turning location off has real trade-offs, so it helps to know them before you start. Maps cannot guide you turn by turn, and ride-hailing apps cannot find your pickup point. Weather apps will show a saved place, not your current one. Your photos will also lose their place tags, so you cannot search them by location later.
Safety features are affected too. Find My on iPhone and Find Hub on Android cannot show your phone on a map, so a lost phone is harder to find. Emergency services may also get a less exact location if you call for help. So think about safety before you switch everything off.
For that reason, most people do best with a middle path. Keep location on for maps, weather, and safety apps, and turn off location tracking for games, shopping, and social apps. You get the useful features and cut the needless tracking. If you also want your photos kept private, see our guide to how to hide photos and files on your phone.
Turn Off Precise Location Instead of Everything
If the master switch feels too strong, try a softer option: turn off precise location. On iPhone, open an app’s location setting and switch off Precise Location. On Android, open the app’s permission and switch off Use precise location. The app will still know your rough area, but not your exact spot.
That is enough for many apps. A weather app only needs your town, and a shopping app only needs your city. So you keep the useful features and hide the detail. It is a good middle ground for apps you trust a little, but not fully.
Maps and ride-hailing are the exception, because they need your exact spot to work. Keep precise location on for those, and turn it off everywhere else. Also remember that your microphone is a separate privacy check, so see our guide on is my phone listening to me if you want to check that too.
A Quick Privacy Check You Can Do Today
You can finish this whole check in ten minutes. First, open your location settings and look at the apps with full access. Change any app set to Always or Allow all the time to While Using, unless it truly needs background access. Then clear the history your phone has already saved.
Next, check the apps you rarely use. If an app you opened once has location access, take it away, because it may keep tracking you in the background.
Finally, make it a habit. Turn off location tracking for new apps as soon as they ask, and check your location settings once every few months, because new apps ask for access all the time. Privacy is not a one-time job, so a short check now and then keeps you in control. Which app surprised you most when you checked its location access? Take a look today and see.