

Taking a screenshot on Windows should be simple, but with so many different methods and keyboard shortcuts, it can feel confusing. Whether you want to save an error message, capture part of a video call, or share something funny with a friend, knowing how to screenshot on Windows will save you time and frustration. This guide covers five easy methods that work on Windows 10 and Windows 11, plus where your screenshots go, how to edit them, and what to do when things go wrong.
The best part is that you do not need to install anything. Windows comes with several built-in tools for capturing your screen, and most of them take only a second or two once you know the right keys to press. By the end of this guide, you will know exactly which method to use for every situation.
Why You Might Need a Screenshot
Screenshots are useful in more situations than most people realize. If you are dealing with a computer problem, a screenshot of the error message helps a technician understand what is happening far better than a written description. Students and office workers capture screenshots of slides, charts, and web pages for notes and reports. Gamers save their best moments, and shoppers capture prices and product details before they change.
Screenshots are also handy for protecting yourself online. If you receive a suspicious message or see a strange pop-up, capturing it before it disappears gives you evidence you can share or report later. Just be careful about what you capture: never take screenshots of your banking screens, passwords, or one-time codes and send them to anyone. Scammers sometimes ask for exactly these, as explained in our guide on what phishing is and how to avoid it.
Method 1: Snip Part of Your Screen with Windows + Shift + S
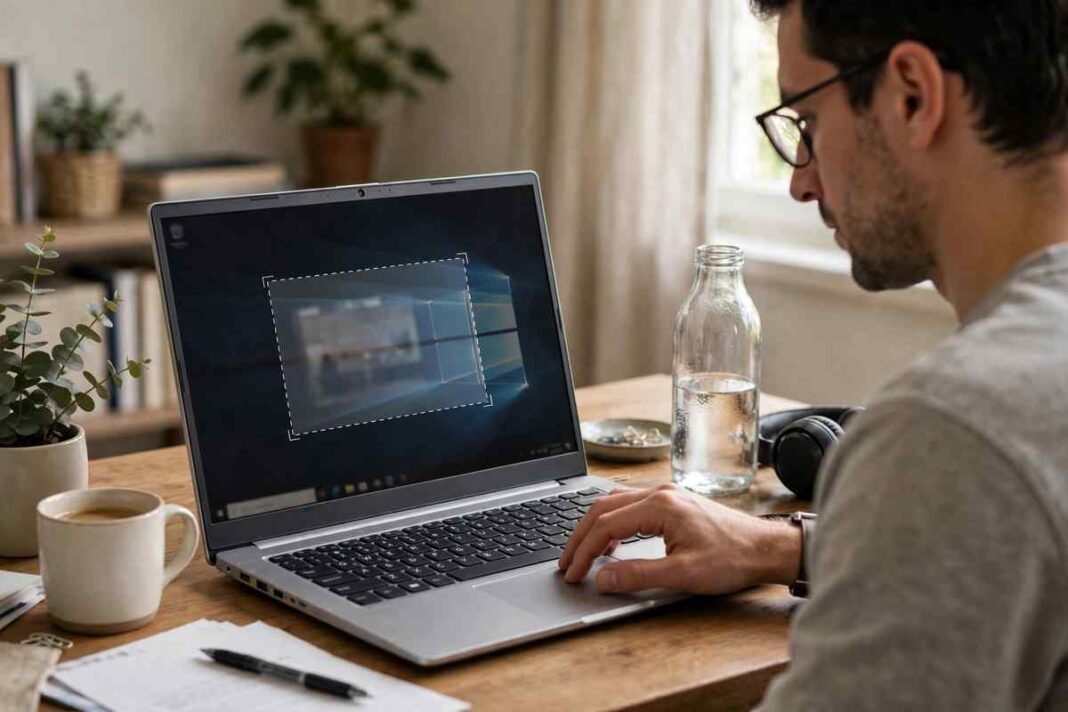
This is the fastest and most flexible method, and it works on both Windows 10 and Windows 11. Press the Windows key + Shift + S at the same time. Your screen will dim slightly, and a small toolbar will appear at the top of the screen.
The toolbar gives you four choices. The rectangle snip lets you drag a box around any area you want to capture. The freeform snip lets you draw any shape with your mouse. The window snip captures one open window with a single click. The fullscreen snip captures your entire screen.
After you make your selection, the screenshot is copied to your clipboard. A small notification will appear in the bottom-right corner of your screen. Click that notification to open the image in the Snipping Tool app, where you can draw on it, highlight parts, crop it, or save it to a file. If you miss the notification, the image is still on your clipboard, so you can paste it into Paint, Word, WhatsApp, or any other app with Ctrl + V.
This method is ideal when you only need part of the screen. It is quick, precise, and does not clutter your folders with files you did not ask to save.
Method 2: Capture Everything with the Print Screen Key
The Print Screen key (often labeled PrtScn, PrtSc, or PrntScrn) is the oldest screenshot method on Windows. Pressing it once captures your entire screen and copies it to the clipboard. Nothing is saved as a file automatically.
After pressing Print Screen, open any app that accepts images — Paint, Word, an email, or a chat window — and press Ctrl + V to paste the screenshot. In Paint, you can then crop the image and save it wherever you like.
On some laptops, you may need to hold the Fn key while pressing Print Screen, because the key shares space with another function. If pressing Print Screen seems to do nothing, try Fn + Print Screen.
This method is best when you want the whole screen and plan to paste it somewhere right away. The downside is that nothing is saved automatically, so if you copy something else before pasting, your screenshot is gone.
Method 3: Capture One Window with Alt + Print Screen
Sometimes you only want the window you are working in, not your whole desktop with the taskbar and other open apps. Press Alt + Print Screen to capture just the currently active window.
Like the plain Print Screen method, this copies the image to your clipboard without saving a file. Paste it with Ctrl + V into Paint, Word, or a message to use it. On laptops, you may need Fn + Alt + Print Screen.
This is perfect for tutorials and bug reports, where showing your entire desktop would be distracting. It keeps the focus on the one app that matters.
Method 4: Auto-Save with Windows + Print Screen
If you want screenshots saved as files automatically, without any pasting, press Windows key + Print Screen. Your screen will flash briefly, and Windows will save the image as a PNG file.
You can find these screenshots in the Pictures > Screenshots folder in File Explorer. Each file is named automatically, like Screenshot (1).png, Screenshot (2).png, and so on.
This method is the most convenient when you need to take many screenshots in a row, because there is no pasting step. The trade-off is that it always captures the full screen, including the taskbar, and it fills up your Screenshots folder quickly if you use it a lot.
Method 5: Capture Games and Apps with the Xbox Game Bar
Windows includes a tool called the Xbox Game Bar, designed for gamers but useful for anyone. Press Windows key + G to open it. Click the camera icon, or press Windows key + Alt + Print Screen, to take a screenshot of the active game or app.
Game Bar screenshots are saved automatically in the Videos > Captures folder. You can also record short video clips with Windows key + Alt + R, which is handy for showing someone how to do something step by step.
Note that the Game Bar only works with games and regular desktop apps. It cannot capture the Windows desktop itself or File Explorer windows. For those, use one of the other methods.
The Snipping Tool App: More Options in One Place
Windows 10 and 11 include a free app called Snipping Tool. You can find it by typing “Snipping Tool” in the Start menu search. It combines the quick snip features with extra options.
Open the app and click New to start a snip, or set a delay of 3, 5, or 10 seconds. The delay is useful when you need to open a menu or hover over something before capturing it, because the screen stays still while the timer counts down. After capturing, the app opens an editor where you can crop, draw with a pen, highlight with a marker, add text, and save the file.
The Snipping Tool also has a video recording mode on Windows 11. Click the video camera icon in the toolbar to record part of your screen as a video clip. This is great for creating quick tutorials without installing extra software.
Where Do Your Screenshots Go?
It is easy to lose track of screenshots, so here is a quick summary. Snips made with Windows + Shift + S go to your clipboard, and to the Snipping Tool notification if you click it. Print Screen and Alt + Print Screen also go only to the clipboard. Windows + Print Screen saves files automatically to Pictures > Screenshots. Game Bar captures save to Videos > Captures.
If you use OneDrive, check its settings: OneDrive can be set to automatically save your screenshots to the cloud, which changes where they end up. Open OneDrive settings, go to the Backup tab, and look at the Screenshots option to see where yours are going.
How to Edit and Annotate Screenshots
A raw screenshot is often just the starting point. You may want to circle the important part, blur out private information, or add a short note. The Snipping Tool editor covers the basics with its pen, highlighter, and crop tools.
For more control, paste your screenshot into Paint, which is free on every Windows PC. Paint lets you add text boxes, arrows, and shapes, resize the image, and save it in different formats like JPG for smaller file sizes. Before sharing any screenshot online or with support staff, take a moment to blur or crop out personal details such as your full name, address, account numbers, or private messages from other people.
Screenshot Troubleshooting
If a screenshot method is not working, a few common causes cover most cases. First, check whether your keyboard needs the Fn key, as mentioned earlier. Second, some apps block screenshots for security or copyright reasons — banking apps, streaming services like Netflix, and DRM-protected video often show a black screen instead of the content. This is normal and cannot be bypassed with built-in tools.
Third, if Windows + Shift + S does nothing, the Snipping Tool may need to be repaired. Go to Settings > Apps > Installed apps, find Snipping Tool, click the three dots, choose Advanced options, and click Repair. Fourth, if your clipboard seems empty after a snip, something else may have overwritten it — try the snip again and paste immediately.
Finally, on some systems the Print Screen key opens the Snipping Tool instead of copying to the clipboard. This is a Windows 11 setting you can change under Settings > Accessibility > Keyboard, where there is a toggle for using the Print Screen key to open screen snipping.
Screenshot Tips and Shortcuts Summary
Here is a quick reference you can keep. Windows + Shift + S snips part of the screen to the clipboard. Print Screen copies the full screen to the clipboard. Alt + Print Screen copies the active window to the clipboard. Windows + Print Screen saves the full screen to Pictures > Screenshots. Windows + Alt + Print Screen captures games and apps to Videos > Captures.
A few extra tips: keep your desktop tidy before full-screen captures so private files are not visible, use the Snipping Tool delay for menus and hover states, and remember that pasted clipboard screenshots vanish if you copy something else first.
FAQs About Screenshots on Windows
How do I screenshot on Windows 11?
All five methods in this guide work on Windows 11. The quickest is Windows + Shift + S, which opens the snipping toolbar. Windows 11 also improved the Snipping Tool app with screen recording, so you have more built-in options than on Windows 10.
Where is the Print Screen button on a laptop?
On most laptops it is in the top row of keys, often labeled PrtScn or PrtSc, sometimes sharing a key with another function. If it shares a key, hold Fn while pressing it. On some compact keyboards you may need to look for it near the Delete or Insert keys.
Why are my screenshots black?
Black screenshots usually mean the app blocks screen capture. Banking apps, password managers, and streaming services like Netflix use protected content that Windows cannot capture. This is a security feature, not a bug, and built-in tools cannot get around it.
How do I take a screenshot of just one monitor?
If you have two monitors, Print Screen captures both. Instead, use Windows + Shift + S and drag a rectangle over the monitor you want, or click the window you want with Alt + Print Screen. Both methods let you capture exactly what you need.
Can I change where Windows saves screenshots?
Yes. For Windows + Print Screen captures, right-click the Screenshots folder in Pictures, choose Properties, go to the Location tab, and pick a new folder. Clipboard-based methods do not save anywhere until you paste them, so you choose the location when you save.
How do I screenshot a scrolling web page?
Windows has no built-in scrolling screenshot tool. Your best options are a free browser extension that captures full pages, or the screenshot feature in your browser’s developer tools. Alternatively, take several overlapping snips with Windows + Shift + S and scroll between them.
Conclusion
Learning how to screenshot on Windows comes down to picking the right tool for the job. Use Windows + Shift + S for quick partial snips, Print Screen when you want to paste the whole screen somewhere, Alt + Print Screen for a single window, Windows + Print Screen when you want files saved automatically, and the Game Bar for games and apps. The Snipping Tool app adds delays and annotation when you need more control.
Key takeaways: clipboard methods are fast but temporary, so paste or save quickly. Auto-save methods go to Pictures > Screenshots or Videos > Captures. Always check what is visible before sharing a screenshot, and blur out private details. With these five methods, you can capture anything on your Windows screen in seconds.
If screenshots are part of keeping your computer tidy, you may also want to read our guide on how to delete cookies in your browser — another simple maintenance task that keeps your PC running smoothly.